I have recently been creating custom ACF blocks using Blockstudio.
Blockstudio gives you the ultimate developer experience for creating custom, production-ready PHP blocks using a filesystem based approach. Native fields, built-in code editor, inline assets, scoped styles, Twig support and much more.
From Blockstudio homepage
In simple terms, Blockstudio auto registers ACF blocks for you and all your stylesheets and script files.
Blockstudio also works with Metabox and also their own Native integration with Gutenberg fields and the block.JSON schema.
In this tutorial, we’re going to be focusing on ACF, but Metabox uses a similar method.
The latest version at the time of writing this was 3.0.6. Screenshots and interface may have changed in the future.
Demo
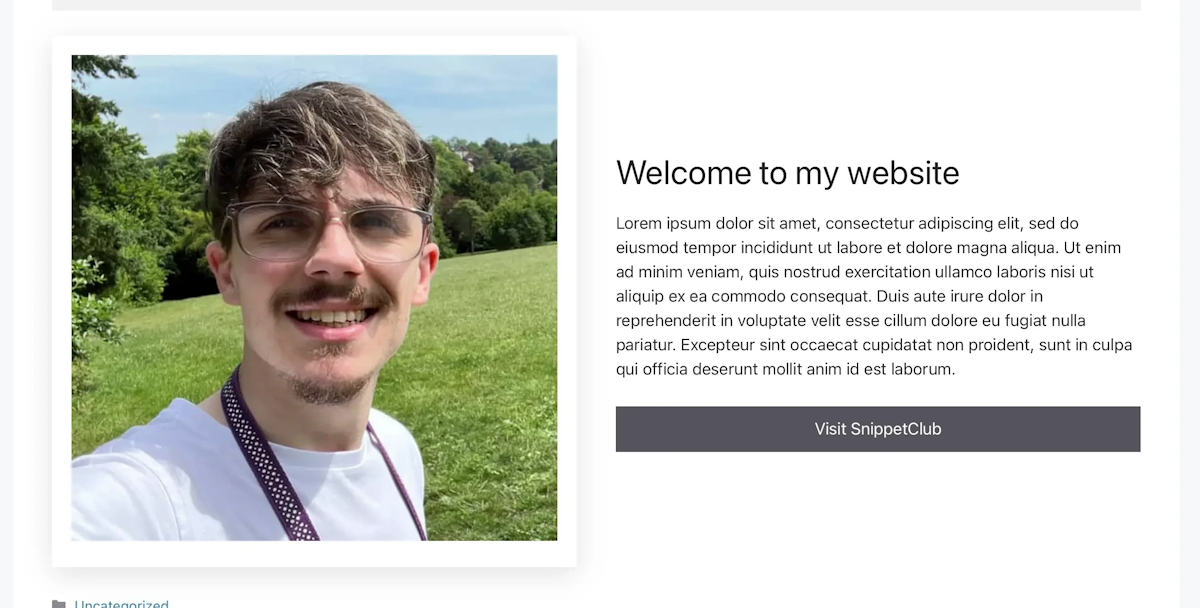
Below is an example of the block we’re going to be building. Its a simple 2 column image and text.

Setup
First we need to install the plugin and add your license key.
Once we have done that, you want to enable the Blockstudio editor. To do this we need to use a hook.
Inside functions.php or a code snippet plugin, add the code below. The number 1 refers to your user ID. You can add multiple comma seperated ID’s inside the array to give access to other users.
<?php add_filter( 'blockstudio/editor/users', function () { return [ 1 ]; // replace 1 with your user ID } );Copy
1. Create block plugin
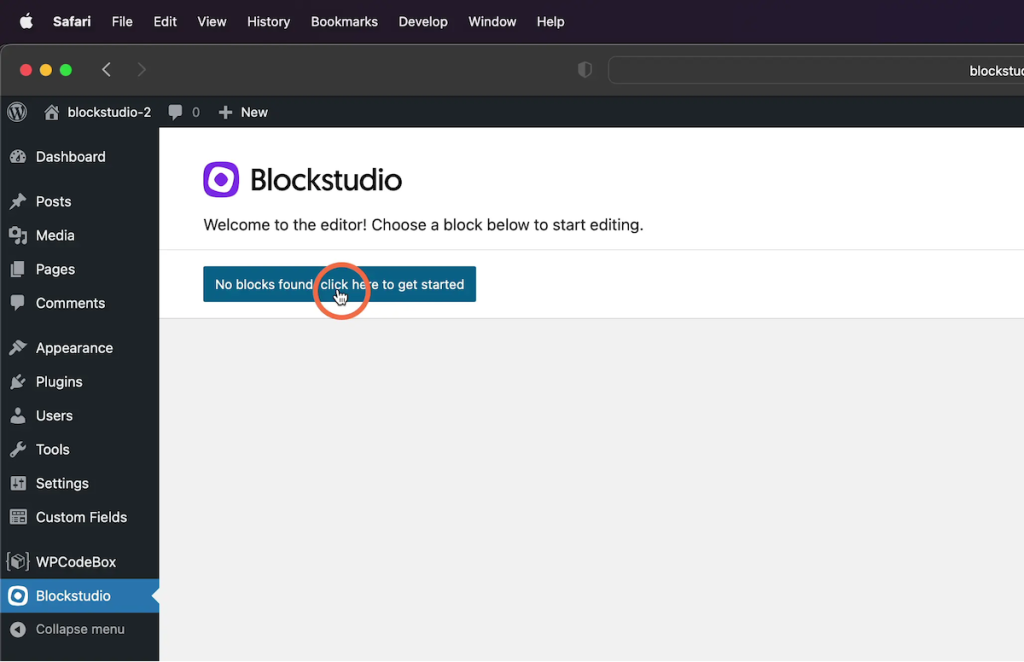
You should now see the Blockstudio editor in your WordPress sidebar. We need to create our block plugin to store all our custom blocks in. To do this, hit the blue get started button.
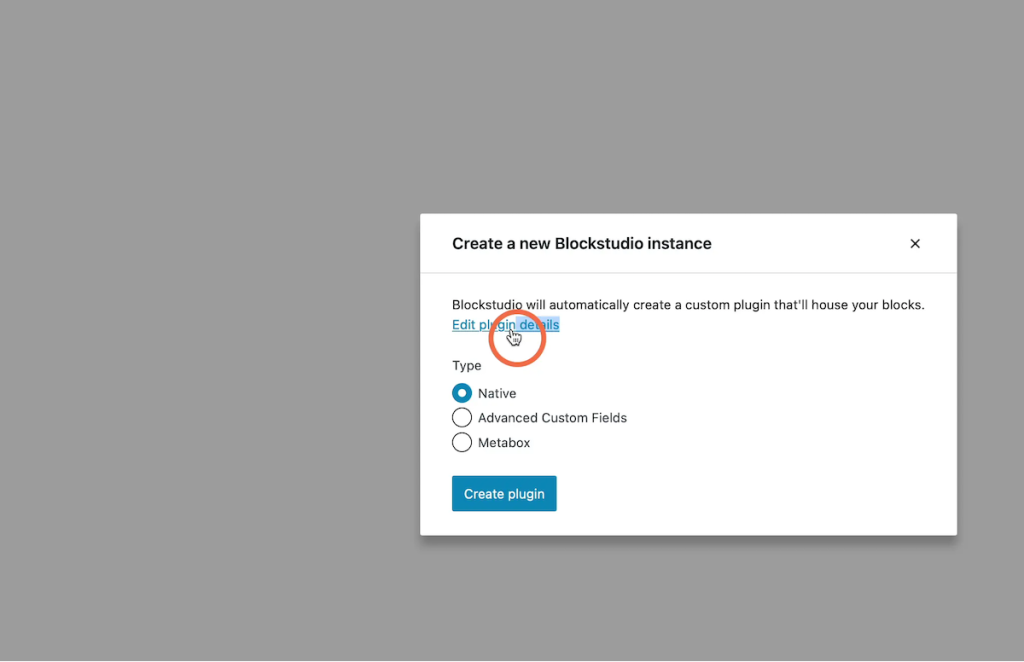
2. Edit plugin details
Next we want to edit our plugin details. We can do this using the edit plugin details link in the popup.
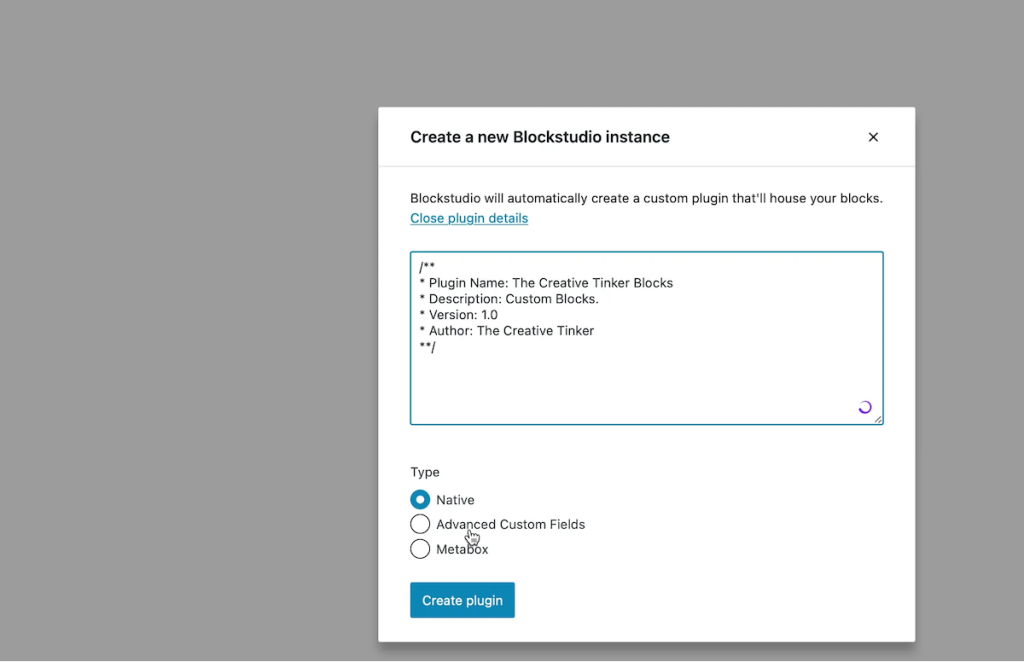
3. Add your details
We need to edit the different parts of the plugin including Plugin name, Description and Author. This is the information that will show up in the plugin list. So name it something useful and related to you or your company.
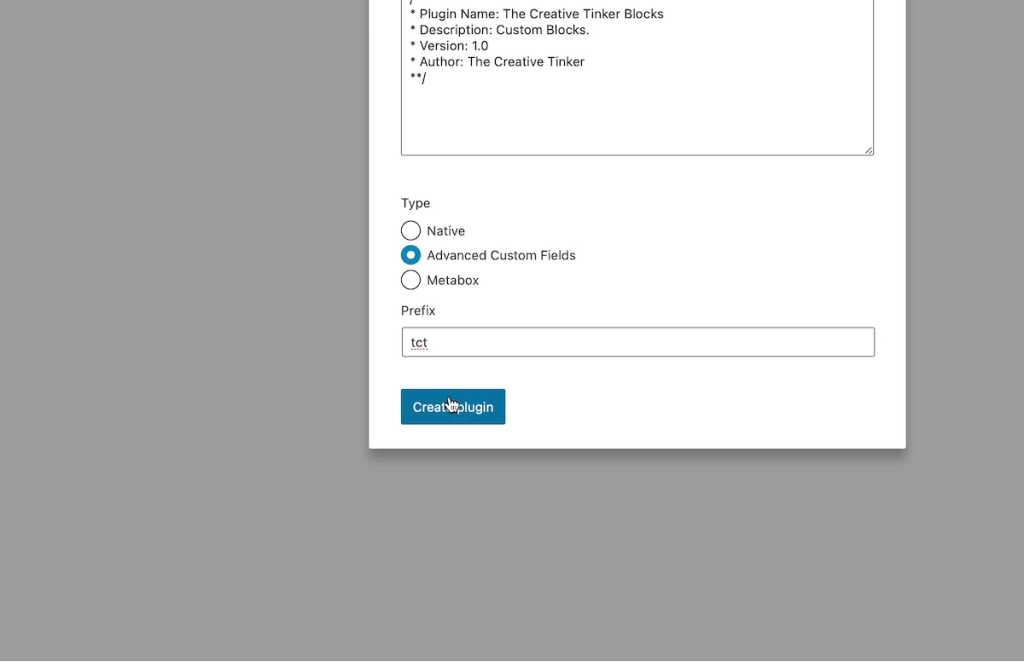
4. Custom field type and block prefix
Time to select the type of custom fields we want to use. In this example, we are going to be using Advanced Custom Fields, however you can use Native or Metabox as well.
If using Advanced Custom Fields or Metabox you will need to add a prefix to ensure you don’t clash with any other custom field groups and keys.
Note: Ensure ACF or Metabox plugin is installed on your website if not using Native type
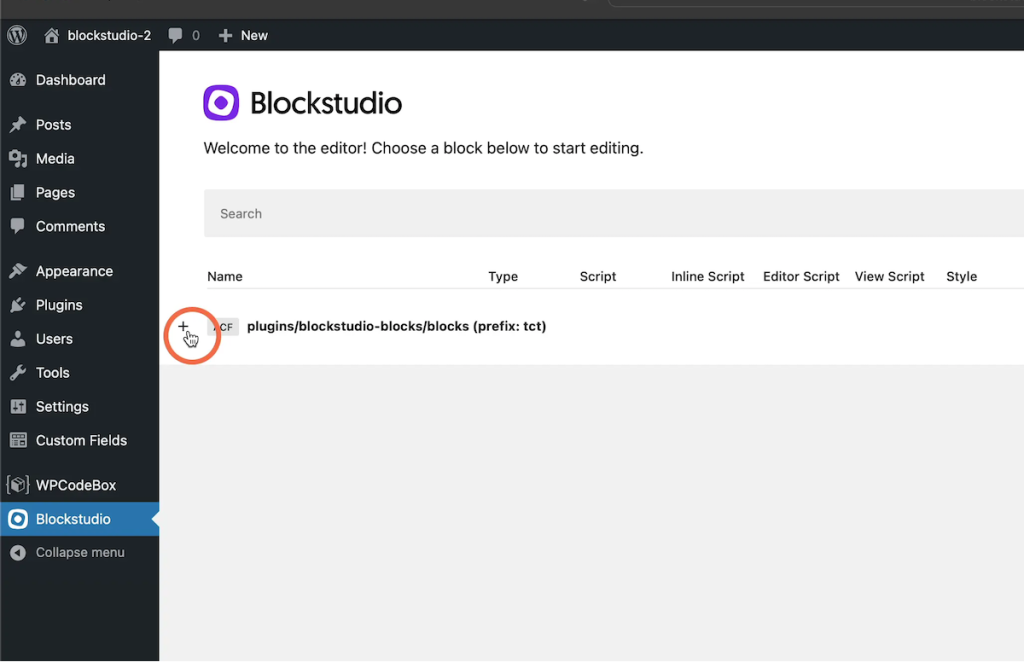
5. Add your first block
You should now see a plus (+) icon next to your plugin folder you just created.
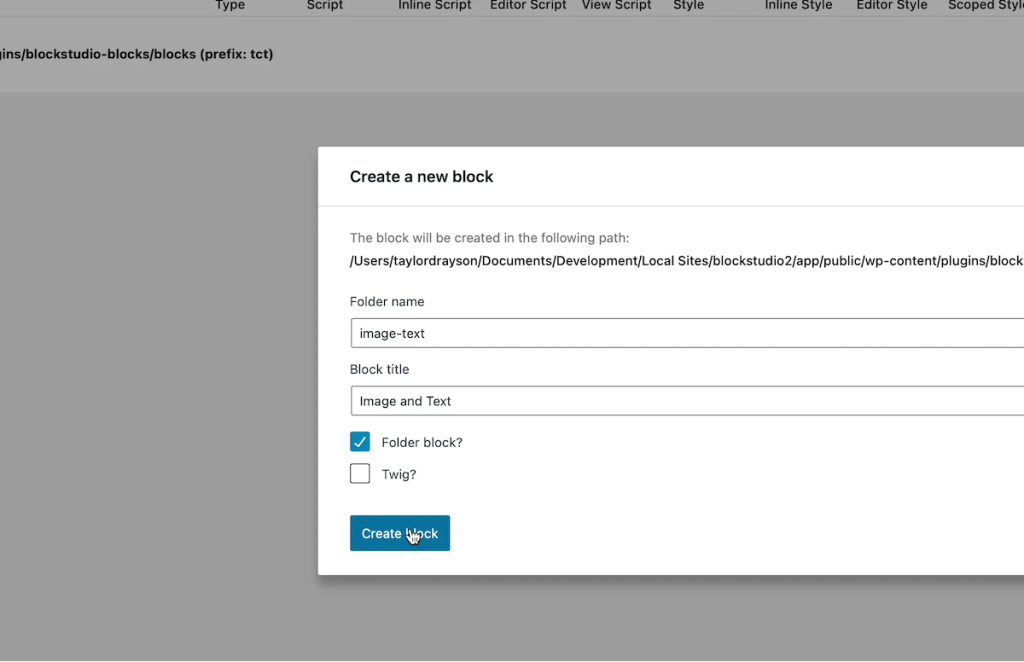
6. Configure your block details
We need to add a folder name and block title for our first block.
I have called my block folder image-text and my block title Image and Text. This is the text that will show up in the Gutenberg editor.
I’m using folders to easily organise the blocks in my plugin. You don’t have to do this, but you reduce the amount of clashing between blocks due to the nesting folder structure Blockstudio uses when registering blocks.
8. Block settings
Blockstudio uses comments to register the block settings.
/* Title: Image and Text Category: blockstudio Icon: star-filled Mode: preview SupportsAlign: false */Copy
You can see all the file headers that exist here – link
9. Register ACF fields
We now need to register our fields that we’ll use inside our block. You can use the WISWIG editor to create your ACF fields, however I prefer registering them directly in the plugin as it keeps everything tidy inside the 1 block file.
We are creating 4 fields.
- Image
- Heading
- Content
- Button
$fields = array( array( 'key' => 'image_text__image', 'label' => 'Select image', 'name' => 'image_text__image', 'type' => 'image', 'return_format' => 'id', 'preview_size' => 'thumbnail', 'library' => 'all', 'required' => 1, ), array( 'key' => 'image_text__heading', 'label' => 'Heading', 'name' => 'image_text__heading', 'type' => 'text', 'required' => 1, ), array( 'key' => 'image_text__text', 'label' => 'Content', 'name' => 'image_text__text', 'type' => 'textarea', 'required' => 1, ), array( 'key' => 'image_text__button', 'label' => 'Content', 'name' => 'image_text__button', 'type' => 'link', 'return_format' => 'array', ), );Copy
You can find all the ACF PHP field settings here – link
10. Create block markup
Next we’re going to add our block markup. This uses just basic HTML and some classes to style the block when we get to the css section. We are using ACF’s get_field() function inside some <?php tags to output the content from our custom fields.
$button = get_field('image_text__button'); $button_html = '<button href="'. $button["url"] .'" target="'. $button["target"] .'">'. $button["title"] .'</button>'; ?> <div class="tct__image-text-block"> <div class="image-wrapper"> <?= wp_get_attachment_image(get_field('image_text__image'), 'full'); ?> </div> <div class="text-wrapper"> <h2><?= get_field('image_text__heading'); ?></h2> <p><?= get_field('image_text__text'); ?></p> <?= $button ? $button_html : ''; ?> </div> </div>Copy
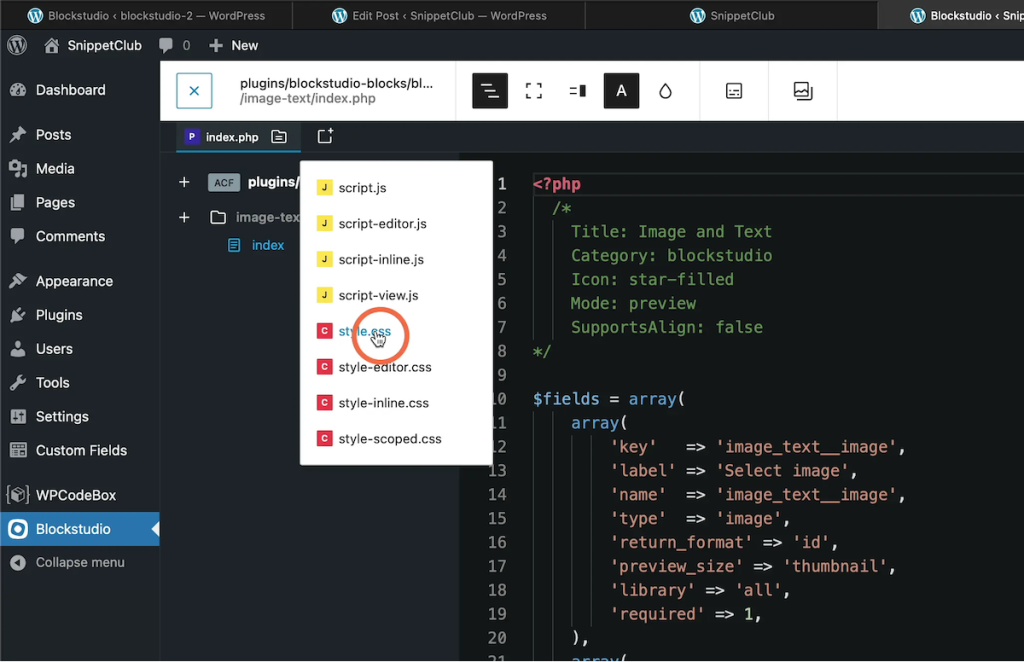
11. Styling the block
To add our styles, click on the + icon next to the index.php file. This will show you a dropdown and we can then select style.css which will open a stylesheet for us.
Add the css below to style our block.
.tct__image-text-block{ display: grid; grid-template-columns: repeat(auto-fit, minmax(352px, 1fr)); gap: 2rem 2.5rem; } .image-wrapper{ box-shadow: rgba(100, 100, 111, 0.2) 0px 7px 29px 0px; border: 4px solid white; padding: 1rem; } .image-wrapper img{ width: 100%; } .text-wrapper{ display: flex; flex-direction: column; justify-content: center; }Copy
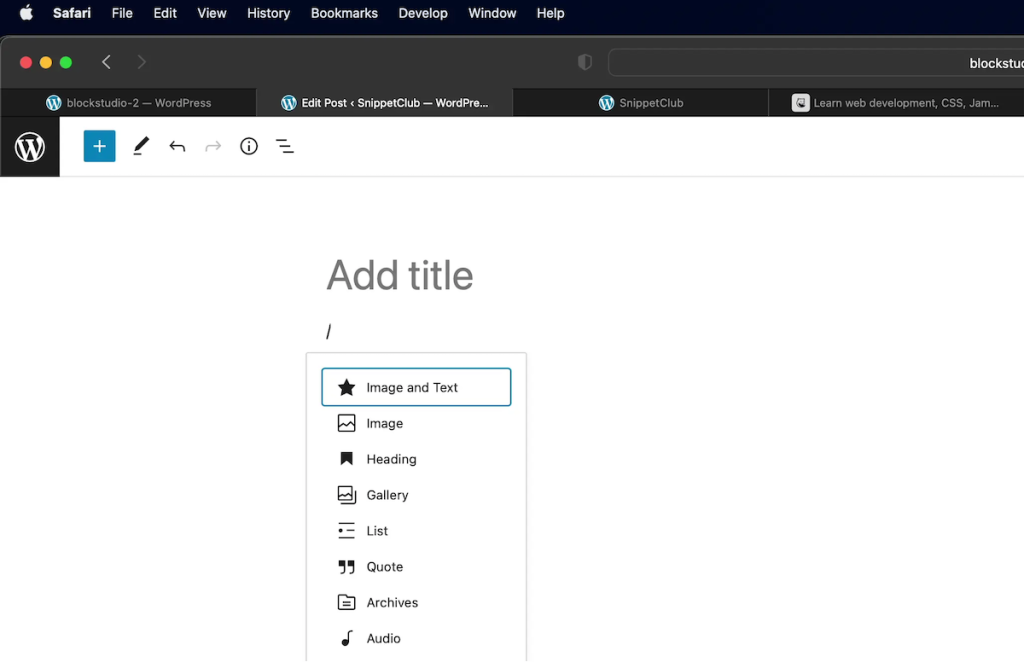
12. Add your block to the editor
We now need to go to the Gutenberg editor to add our block we just created.
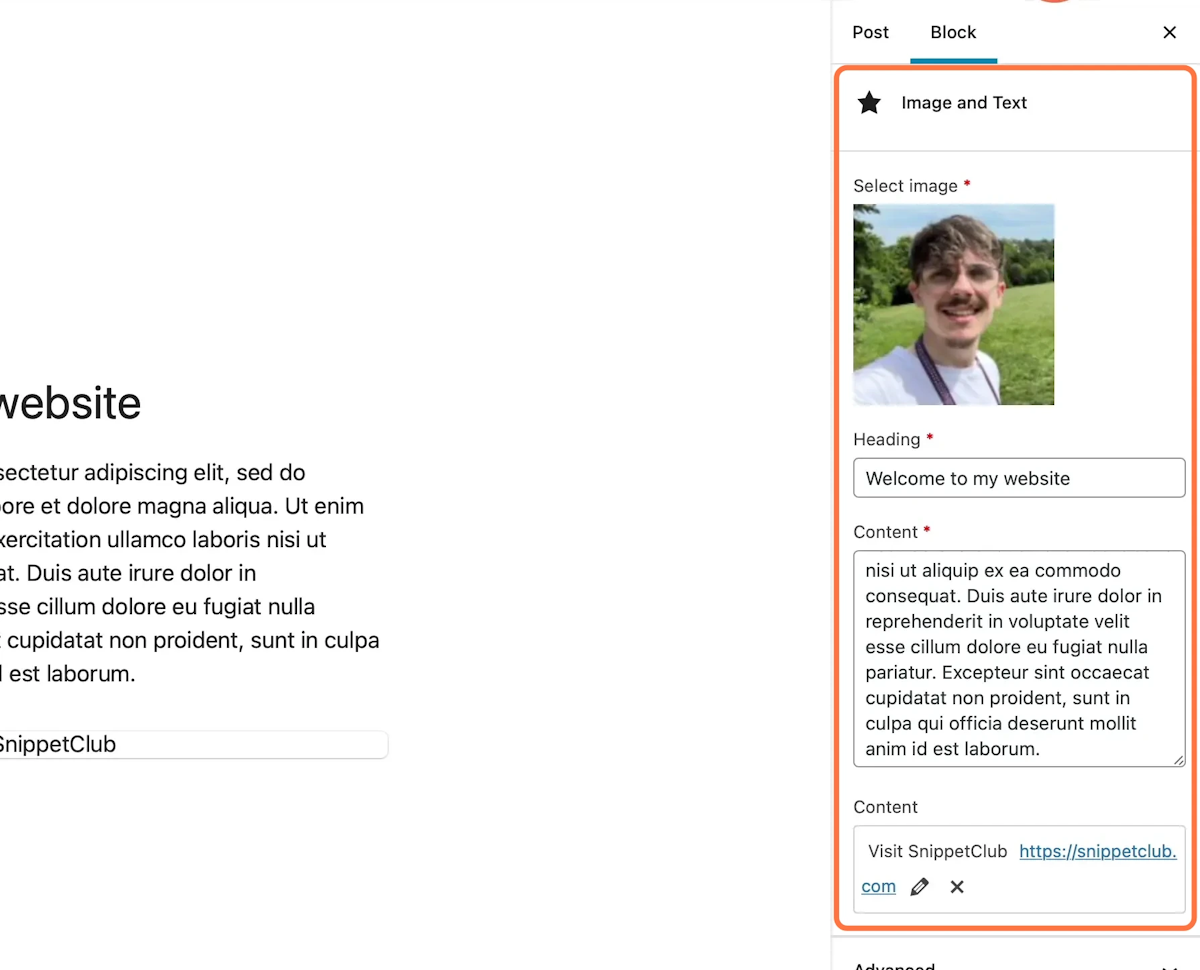
13. Edit your acf fields in the sidebar of your block
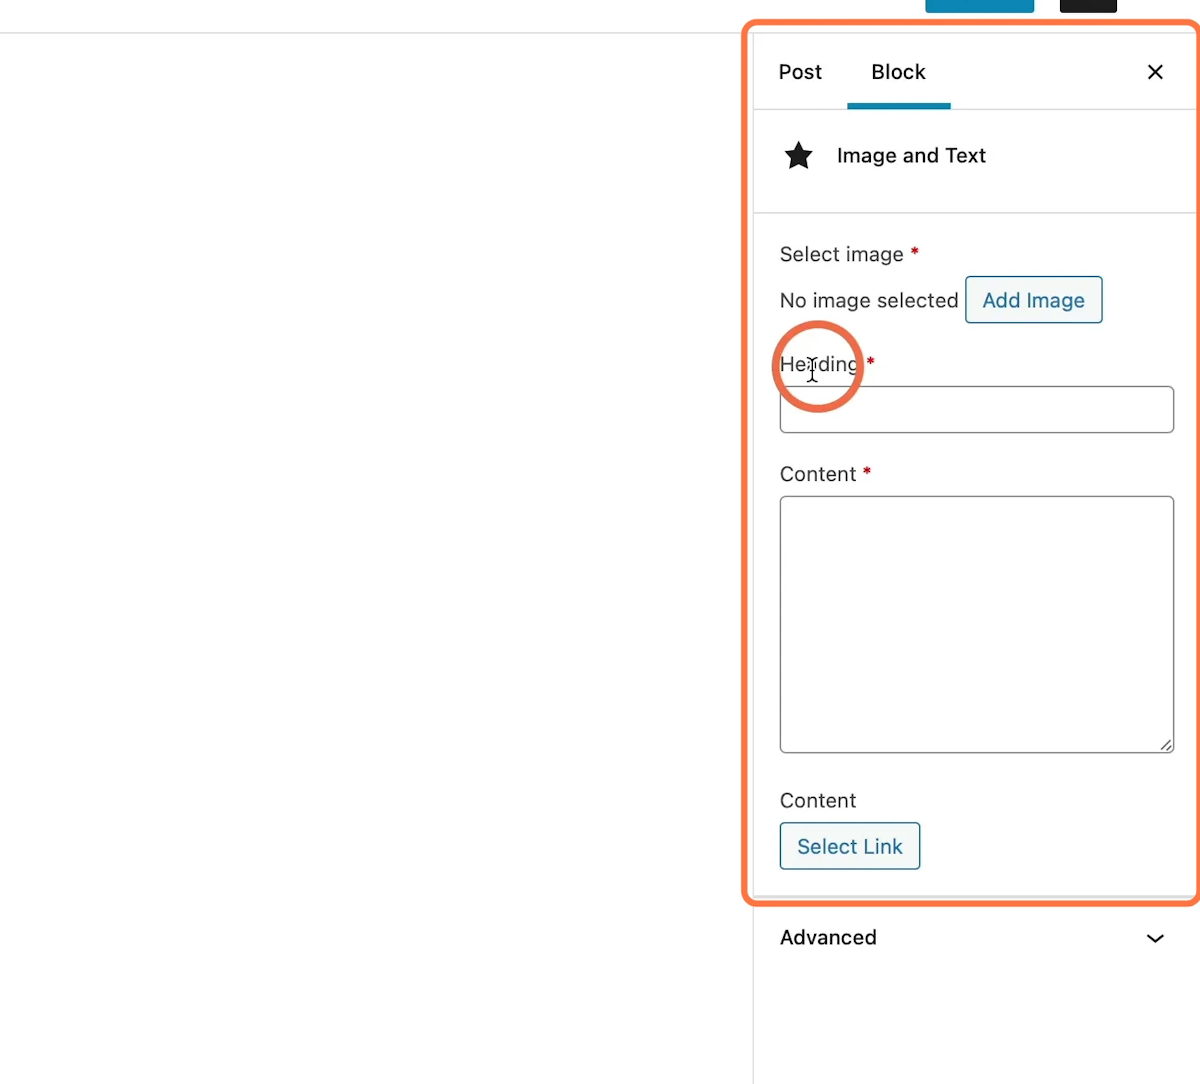
10. Add your block custom fields
When your block is selected, you should see some custom fields appear in your sidebar in the Block panel. You can populate this with your data, and then you should see your data populate in the editor.
11. Final block output
Once saved and you visit the frontend, your block should look something like this.
Closing Thoughts
This is a very simple example of creating a custom ACF block with Blockstudio, but the possibilities are endless. You can build lots of advanced and complex blocks using the steps above. Anything that would normally be a shortcode can be migrated to blockstudio very easily.