On a website that I’m working on, I have lots of custom GeneratePress element blocks before and after the content.
GeneratePress has the ability to set display rules for Elements you create. You have control over where to include and exclude the blocks. As well as the ability to Disable Elements like the header or footer.
However the downside is you can’t control your custom elements like you can with the Disable Elements module.
This tutorials allows you to control the visibility of your custom Element blocks on a per page basis.
Demo
Example
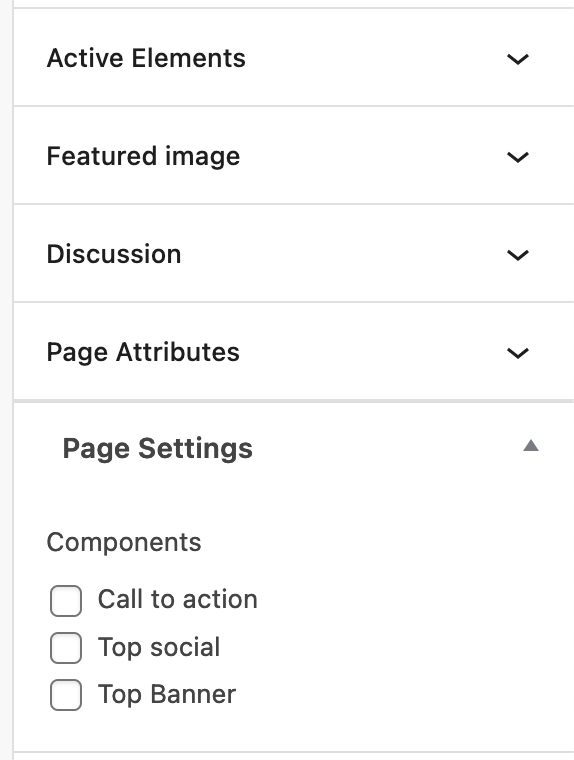
Below is an example what we are going to be adding to our editor sidebar using Advanced Custom Fields.
1. Add your Elements
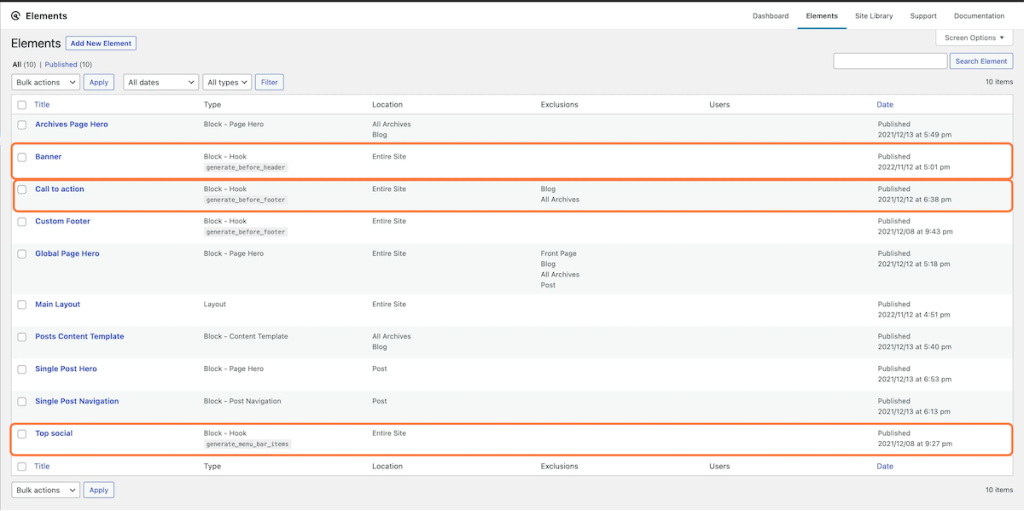
First we need to create our elements that we are going to be able to control.
In this example, we are creating a top notification banner, a call to action just before the footer and social links in the header.
2. Create a new field group
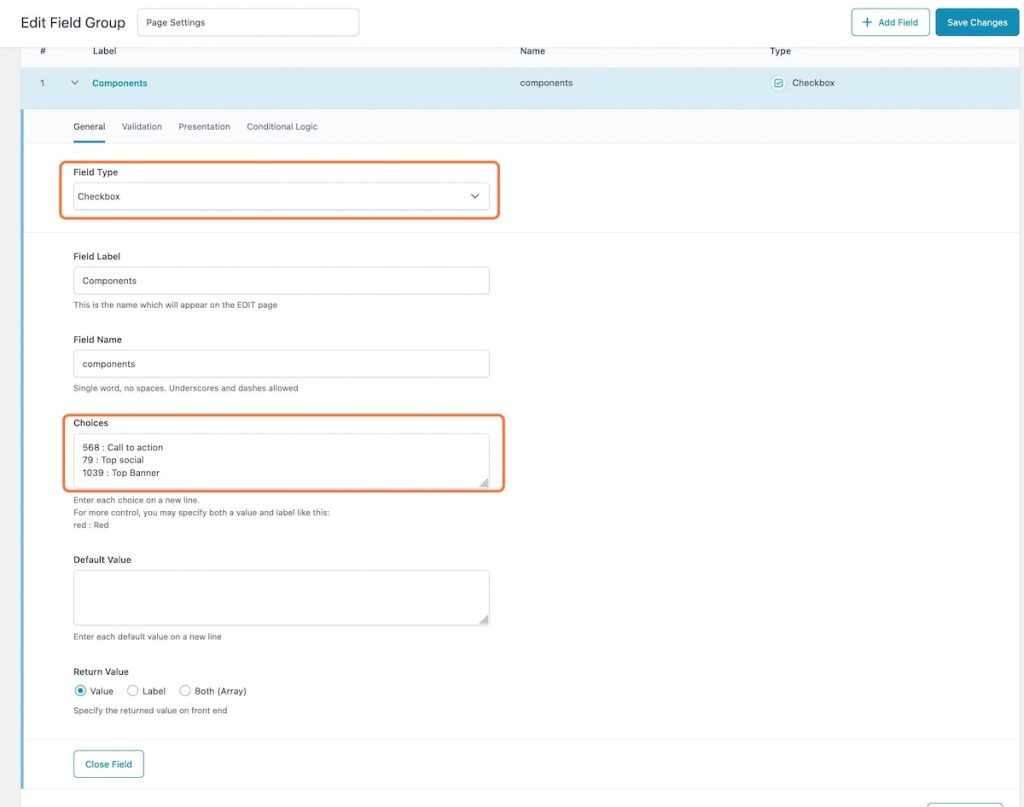
Next we want to create a checkbox field called components inside a field group called Page Settings.
We now will populate the choices text area with our elements.
It needs to be in the format {Element_ID} : {Label}
You can find the Element ID in the url when viewing the element.
It will look something like this:
https://mydomain.com/wp-admin/post.php?post=1039&action=edit
Field settings
- Set the location rules to
Post type is equal to page - Under presentation, set the Position to
Side.
3. Add the code
Copy and paste the code below into functions.php or code snippet plugin.
We will be using the generate_element_display hook to filter our blocks visibility.
<?php add_filter( 'generate_element_display', function( $display, $element_id ) { if( is_page() ){ $disable_components = get_field('components'); if($disable_components !== null && in_array($element_id,$disable_components)){ $display = false; } } return $display; }, 10, 2 );Copy
Code breakdown
- We first check to see if the current post we are viewing is a page.
- Then we get our custom field
componentswhich contains an array of all checked options. - Next we want to check if our field does not return null and our current
element idis in ourcomponentsarray. - If both return true, we set
$displayto false, which stops our block from rendering on the frontend.
4. Conculsion
This can be extended further to work with multiple post types. However it gives you an idea of how you can let you client control certain elements.